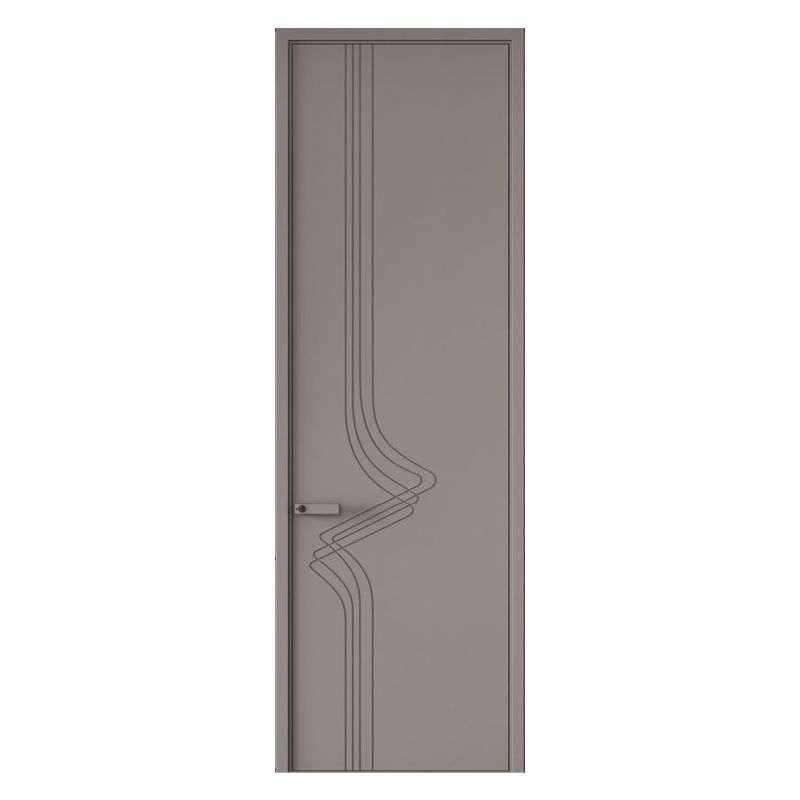
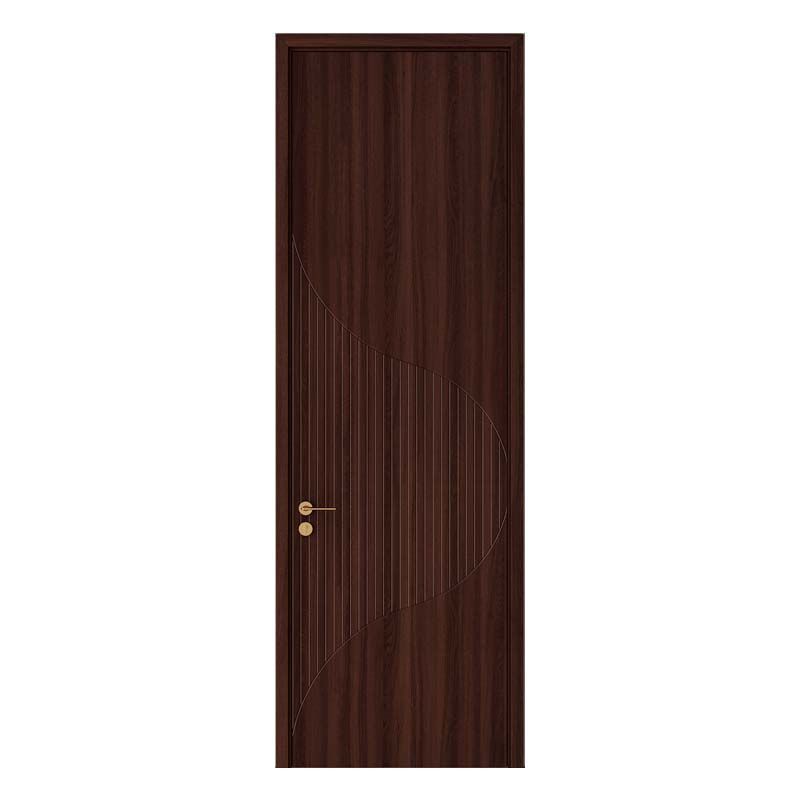
Choosing a finish is often harder than choosing the door itself. This wooden interior door finish selection guide helps homeowners, architects, and contractors compare the best finish for solid wood interior doors and understand how to match door finish with interior style. The decision affects color stability, tactile quality, cleaning, and long-term maintenance. Key terms such as waterborne lacquer, wood grain, color temperature, polyurethane, conversion varnish, and moisture content are not decorative jargon; they determine how a door performs after installation.

Why Finish Selection Matters for a Flat Carving Wooden Interior Door Manufacturer
A wooden door is exposed to more variation than most interior wall surfaces. It may experience fingerprints near the handle, impact from vacuum cleaners, localized humidity around bathrooms, and direct sunlight from a nearby window. A finish therefore has two jobs: it must control the visual appearance of the timber and create a protective film that limits moisture exchange, staining, and abrasion.
The same carved door can look completely different under different finishes. A clear matte coating emphasizes pores and tool marks, while a pigmented coating creates a more uniform color and reduces visible variation between boards. A high-gloss film reflects more light and can make a narrow corridor appear brighter, but it also reveals sanding scratches and surface dents more readily.
For most indoor applications, the useful comparison is not simply “natural versus painted.” It is a combination of:
- Film-forming or penetrating behavior: film-forming coatings sit above the timber, while oils and hardwax products penetrate partly into the surface.
- Sheen: gloss is commonly measured by reflected light at a defined angle; matte finishes generally fall near 5–15 gloss units, while satin products may range from approximately 20–40 gloss units, depending on the manufacturer.
- Color development: oil-based products can amber over time, whereas many waterborne products preserve a paler appearance.
- Resistance profile: a coating may resist abrasion well but perform less effectively against standing water, chemicals, or ultraviolet exposure.
- Repair method: locally repairable finishes are valuable in bedrooms and family homes, where small scratches are more likely than total surface failure.
Wooden Interior Door Finish Terms to Understand Before Ordering
Wood Species, Grain, and Moisture Content
Wood species strongly influences the final result. Oak has an open pore structure and visible ray fleck, walnut offers deeper brown and gray undertones, ash has a pronounced linear grain, and paint-grade poplar is usually selected for its relatively consistent texture rather than decorative grain.
Moisture content is equally important. Interior joinery is commonly manufactured for a target moisture content of approximately 6–10%, depending on the regional climate and building conditions. If the door is installed while its moisture content differs substantially from the room environment, the timber may shrink, swell, or develop joint movement. A finish slows moisture exchange; it does not stop wood movement entirely. The best practice is to acclimatize the door in the conditioned interior for several days before final installation, while keeping it flat and protected from direct heat.
Waterborne Lacquer, Polyurethane, and Conversion Varnish
Waterborne lacquer contains water as a primary carrier and typically produces a low-odor coating with relatively fast handling time. Many modern formulations can be sanded and recoated after several hours, although full hardness may continue developing for days. It is a practical choice for occupied homes and pale wood species because it generally adds less amber coloration than traditional oil-based systems.
Polyurethane is a film-forming resin valued for abrasion and chemical resistance. Waterborne polyurethane is suitable for many interior doors, especially where a clear natural appearance is required. Oil-modified polyurethane can create warmer color and strong surface protection, but it often has a longer odor-release period and may yellow gradually.
Conversion varnish is a catalyzed coating system that forms a chemically cross-linked film. In professional spray finishing, it can deliver high hardness and strong resistance to household chemicals. It is usually more appropriate for a controlled factory environment than for a small on-site renovation because ventilation, mixing ratios, pot life, and application equipment must be managed carefully.
Penetrating Oil, Hardwax Oil, and Pigmented Stain
Penetrating oils soak into the upper wood fibers and leave a more natural hand-feel than thick film coatings. They are useful when the design brief prioritizes visible grain and easy spot repair. However, many oil finishes require periodic maintenance, and water rings may appear sooner than on a fully cured catalyzed film.
Hardwax oil combines penetrating oils with waxes that remain partly at the surface. It creates a low-sheen appearance and can be refreshed without stripping the entire door. The trade-off is that heavily handled areas may need maintenance earlier than a factory-applied polyurethane or conversion varnish.
Pigmented stain changes the apparent color while retaining some grain visibility. It is not, by itself, a complete protective system. A separate clear topcoat is usually required to provide resistance to hand oils, cleaning agents, and abrasion. Always test the full stain-and-topcoat combination on the same species because porous and dense areas absorb color differently.
How a Flat Carving Wooden Interior Door Manufacturer Matches Finish to Interior Style
Style matching works best when the door finish is evaluated with the floor, wall color, hardware, and light source together. A sample viewed under a showroom’s 4000 K lighting may appear warmer or cooler in a home using 2700 K lamps. For that reason, large samples should be examined in both daylight and the intended artificial light.
Modern Minimalist and Contemporary Interiors
Modern interiors usually benefit from low-variation surfaces, clean edges, and restrained sheen. A clear waterborne lacquer in matte or low-satin can preserve a pale oak or ash appearance without turning the door visually heavy. For a stronger architectural effect, use a solid-color polyurethane or conversion varnish in warm white, charcoal, greige, or muted taupe.
Keep the finish consistent across the door leaf, frame, and casing. A difference of even a few color values can make a flush door appear disconnected from its trim. For carved panels, a low-sheen finish is often safer because it reduces bright reflections inside the grooves and keeps the relief legible.
Scandinavian and Japandi Interiors
Scandinavian and Japandi schemes generally favor pale timber, low contrast, and a soft tactile surface. White oak, ash, and light walnut can be treated with a clear matte waterborne product or a lightly white-pigmented hardwax oil. A controlled pigment load helps reduce yellowing without hiding the grain.
For a calm appearance, select a finish with approximately 5–15 gloss units and avoid excessive red or orange undertones. If the room has cool gray walls, a neutral oak sample may balance the palette better than a strongly yellow oak finish. In a small room, a pale door with a light-reflective matte surface can support brightness without producing the glare associated with high gloss.
Traditional, Transitional, and Craftsman Interiors
Traditional rooms can accommodate richer color and deeper visual contrast. Walnut, stained oak, mahogany-toned finishes, and medium brown transparent stains work well with raised panels, framed doors, and classic brass hardware. Oil-modified polyurethane can add warmth, but the sample should be monitored for color change during curing.
Transitional interiors often need a bridge between ornate and contemporary elements. A medium natural stain with a satin clear coat provides enough grain definition for traditional furniture while maintaining a controlled surface. For Craftsman interiors, quarter-sawn white oak with a low-sheen clear finish highlights the medullary rays without making the door look glossy.
Industrial and Loft-Style Interiors
Industrial spaces can support smoked oak, dark walnut, charcoal stain, or a wire-brushed texture. The finish should protect the surface while allowing controlled variation rather than making the door appear artificially uniform. A matte conversion varnish or durable waterborne polyurethane can preserve the raw-material character while improving cleanability.
Dark finishes absorb more light and may make a narrow hallway feel visually compressed. If the door is darker than the surrounding wall by a large contrast level, balance it with lighter flooring, warm metal hardware, or wall lighting. Black hardware against a black door can disappear; bronze or brushed stainless steel may provide more readable detailing.
Coastal, Farmhouse, and Rustic Interiors
Coastal and farmhouse designs often use white, soft gray, pale blue, or naturally weathered timber. A waterborne pigmented coating is appropriate when color stability and low odor are priorities. For a rustic appearance, wire brushing or hand distressing should be completed before the finish is applied, not simulated with random dark marks after coating.
Distressed finishes require a clear maintenance expectation. Surface variation can conceal minor scratches, but deep dents and exposed raw wood still need repair. Use a sample door to approve the distressing pattern, coating sheen, and edge treatment before production.
Step-by-Step Finish Selection with a Flat Carving Wooden Interior Door Manufacturer
Step 1: Record the Room Conditions
- Measure the room’s humidity range. A hygrometer can identify whether the space usually remains near 40–60% relative humidity. Large seasonal swings increase the likelihood of timber movement.
- Mark moisture-risk locations. Note bathrooms, laundry areas, kitchens, exterior-adjacent walls, and rooms with frequent ventilation changes. These locations may require a more water-resistant coating and careful sealing of all edges.
- Identify direct sunlight. A door exposed to several hours of direct ultraviolet light may show color change faster than a door in a shaded corridor. Consider UV-resistant clear coats or a more stable pigmented finish.
Step 2: Define the Visual Target
- Choose the desired grain visibility. Use “opaque,” “semi-transparent,” or “clear” rather than vague terms such as “natural.” Ask whether cathedral grain, pores, and carved details should remain visible.
- Select sheen by sample, not by name alone. “Satin” is not standardized across all brands. Compare physical samples under the project lighting and photograph them from several angles.
- Compare undertones. Place the door samples beside the floor, trim, wall paint, and hardware. A finish that looks neutral on a white background may appear yellow beside a cool gray wall.
Step 3: Select the Protection Level
- For bedrooms and low-contact rooms, a matte waterborne lacquer, hardwax oil, or standard clear polyurethane may be sufficient when the surface is cleaned with a soft, damp cloth.
- For family rooms and busy corridors, choose a harder film-forming system, such as a quality waterborne polyurethane or factory-applied conversion varnish, and specify edge sealing.
- For bathroom-adjacent applications, do not rely on the finish alone. Maintain ventilation, prevent standing water, and confirm that the top, bottom, hinge, and lock edges receive compatible sealing.
Step 4: Review the Construction and Application Method
- Confirm the door core. Solid timber, engineered wood, and veneer-faced constructions respond differently to humidity and finishing. Engineered cores can improve dimensional stability, while solid wood provides a different tactile and visual character.
- Ask how the finish is applied. Factory spray application can produce more uniform film thickness than site brushing. Request information about sanding grit, number of coats, curing time, and whether the finish is catalyzed.
- Check film build and edge coverage. A finish that looks attractive on the front face may fail prematurely if the bottom edge or carved recesses are undercoated. The manufacturer should confirm that vulnerable surfaces receive the specified system.
Step 5: Approve a Full-Size Sample
- Use the actual timber species. A walnut finish on oak is not a reliable representation because pore structure and base color alter stain absorption.
- Include the actual carving profile. Grooves, chamfers, and routed details affect shadow density and coating thickness. A flat board cannot predict the appearance of a carved door.
- Inspect after curing. Evaluate color immediately and again after the stated cure period. Some oil-modified finishes deepen noticeably during the first several days.
- Conduct a simple cleaning test. After curing, wipe a concealed area with the manufacturer-approved diluted cleaner. Look for whitening, gloss change, tackiness, or pigment transfer.
Practical Finish Comparison for Interior Wooden Doors
| Finish system | Typical appearance | Strengths | Points to verify |
|---|---|---|---|
| Waterborne lacquer | Clear to lightly tinted, matte to satin | Low odor, limited ambering, suitable for pale timber | Recoat window, final hardness, chemical resistance |
| Waterborne polyurethane | Clear, low-sheen to satin | Good abrasion resistance and relatively stable color | Compatibility with stain and required curing period |
| Oil-modified polyurethane | Warm, amber, satin to gloss | Rich color and durable film | Yellowing, odor, ventilation, and longer cure time |
| Conversion varnish | Uniform professional film, adjustable sheen | High hardness and strong household-chemical resistance | Factory process, catalyst handling, repair method |
| Hardwax oil | Natural, low-sheen, tactile | Visible grain and convenient spot maintenance | Refresh frequency and water-ring resistance |
| Pigmented paint system | Uniform opaque color | Broad color selection and reduced grain variation | Primer compatibility, edge coverage, and touch-up matching |
Advanced Advice for Flat Carving Wooden Interior Door Projects
Use Sheen Strategically in Carved Details
Carving creates valleys and raised surfaces that reflect light at different angles. A high-gloss coating can produce sharp highlights on the raised edges and dark reflective patches in the recesses. Matte or low-satin finishes usually provide more even readability, especially for geometric carving and narrow grooves.
Control Color Variation Across Multiple Doors
Natural wood is not a uniform manufactured color. Boards from the same species may differ in density, grain orientation, and extractive content. For a project with several doors, specify the preferred grade, book-match or grain direction requirements where relevant, and a tolerance for natural variation. If exact uniformity is the priority, an opaque paint system is more predictable than a clear stain.
Consider Indoor Air Quality During Renovation
Ask for the coating’s VOC information and application requirements rather than relying on labels such as “eco-friendly.” Lower-VOC waterborne systems can reduce odor during installation, but ventilation and cure time still matter. Keep the space ventilated according to the product technical data sheet, and do not close or heavily handle the door before the coating has reached its specified handling strength.
Plan Cleaning and Repair Before Installation
Most finished interior doors should be cleaned with a soft cloth and a mild, diluted detergent. Abrasive pads, melamine sponges, acetone, and concentrated alkaline cleaners can reduce gloss or damage the film. Keep the original finish specification and a small quantity of approved touch-up material after installation. Matching a repair is easier when the exact stain, topcoat, sheen, and batch information are available.
Common Mistakes When Ordering a Wooden Interior Door Finish
- Choosing from a digital image alone: screen brightness and color settings cannot reproduce timber undertones or sheen accurately.
- Ignoring the door edges: unsealed top and bottom edges can absorb moisture faster than the main face.
- Assuming all “natural” finishes are clear: some products contain ambering oils, white pigments, or colorants.
- Specifying high gloss for easy cleaning: gloss may simplify wiping but can reveal scratches, dust, and uneven sanding.
- Using a floor finish without checking compatibility: door coatings must suit vertical joinery, carved profiles, hardware installation, and repeated hand contact.
- Skipping acclimatization: installing timber before it adjusts to the indoor environment can increase dimensional movement.
- Failing to define acceptable variation: a clear finish exposes the natural differences that a client may later interpret as defects.
The most reliable specification combines the interior style, timber species, room humidity, expected contact level, coating chemistry, sheen target, and maintenance plan. ROI HOME can help translate those requirements into a coordinated door, frame, carving profile, stain, and protective finish. Whether the brief calls for a matte Scandinavian surface, a warm traditional walnut tone, or a durable painted finish, compare a full-size sample before production. This approach makes the wooden interior door finish selection guide practical, clarifies the best finish for solid wood interior doors, and shows how to match door finish with interior style using real factors such as waterborne lacquer, wood grain, color temperature, polyurethane, conversion varnish, and controlled moisture content.