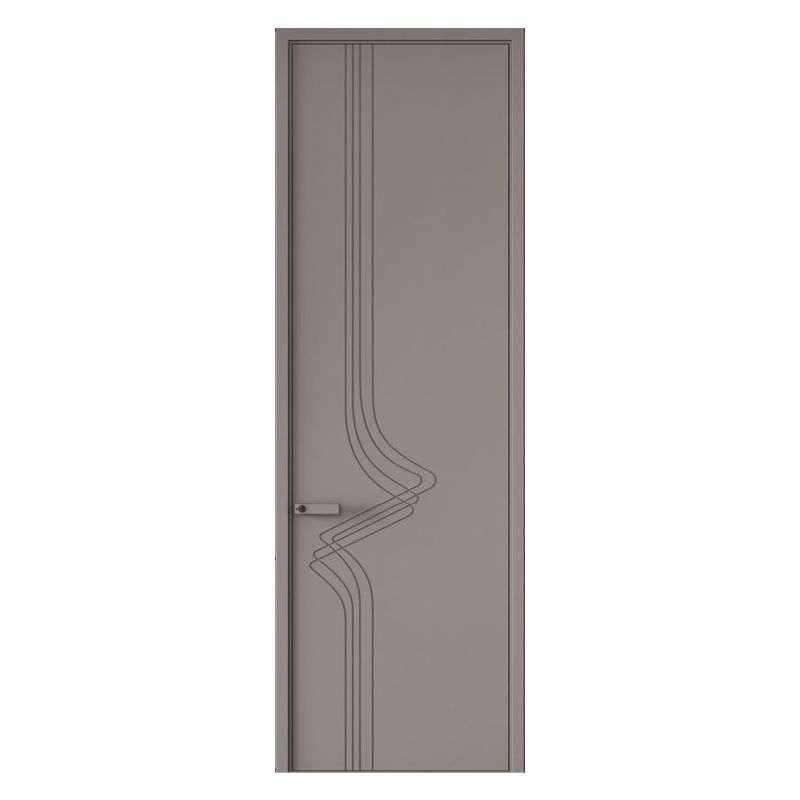
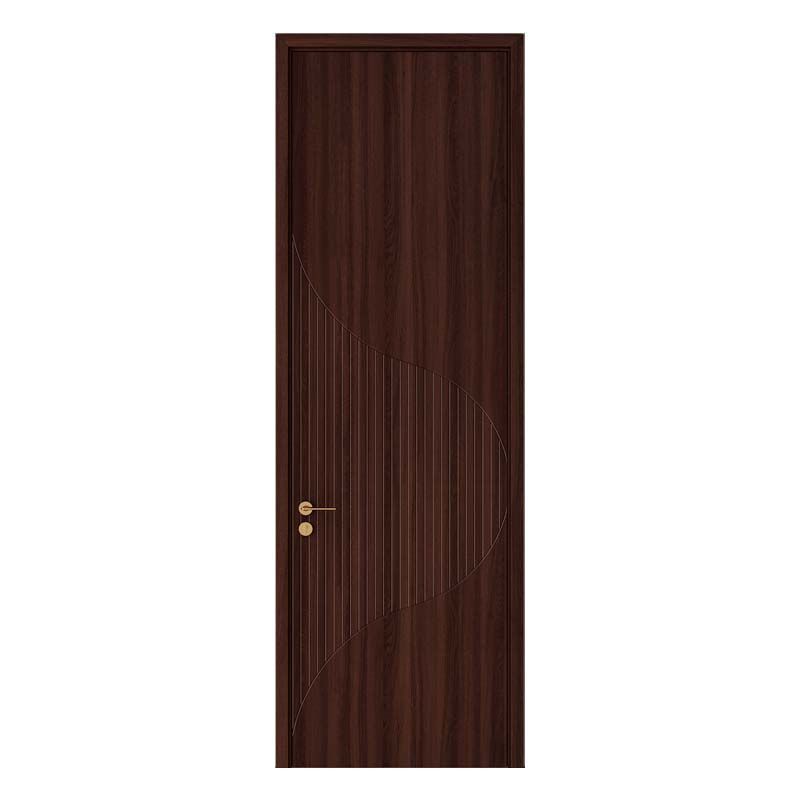
Homeowners dealing with rough edges, uneven color, or a door that swells after installation need more than attractive catalog photos. This wooden interior door finish quality review explains how to inspect a finished wood door and how to choose a flat carving wooden interior door manufacturer for bedrooms, apartments, hotels, and renovation projects. The review focuses on wood grain, paint adhesion, and door slab quality, using practical checks for substrate, film thickness, and moisture content. The goal is simple: identify finish defects before the door reaches the job site.

This evaluation considers the parts that affect daily use rather than only showroom appearance:
ROI HOME is most relevant for buyers who want a painted or wood-look interior door with decorative flat carving, controlled factory finishing, and repeatable dimensions. It may suit residential developers, hotel contractors, apartment owners, and homeowners ordering multiple doors where color matching is more important than choosing a one-off handcrafted door.
A door can look excellent in a front-facing photograph while still having defects that appear after installation. Low-angle light may reveal sanding scratches, orange peel, uneven gloss, pinholes, or a visible transition between the face veneer and edge band. A poorly sealed bottom edge may absorb moisture during cleaning, while an overly thick finish can crack at sharp carved corners.
For a fair inspection, view the door from approximately 1 meter away in normal room lighting, then inspect it from 30 to 50 centimeters under a strong side light. The first distance reflects normal use; the second reveals manufacturing defects. A finish should not be rejected for a minor mark that is invisible at normal viewing distance, but repeated marks, exposed substrate, or inconsistent color should be recorded.
The unboxing process is part of product quality. A carefully finished door can be damaged by poor corner protection or loose packaging during transportation. Check whether the packaging protects:
Photograph the unopened package, shipping label, and every damaged area before removing the door. This creates a clear record if the damage occurred during transportation rather than production.
In the reviewed ROI HOME sample, the first inspection followed a repeatable sequence:
The inspected sample showed consistent color across the main face and carved sections. The most important point was not that it looked “perfect,” but that no exposed substrate, open edge joint, or obvious run mark was visible at normal viewing distance. Small variations in wood texture remained visible, which is normal for natural veneer and should not automatically be classified as a coating defect.
Stand the door vertically and inspect it from several angles. Look for:
For multi-door projects, place two doors side by side under the same light. A color difference may be acceptable between different production batches, but it becomes a practical problem when adjacent bedroom or corridor doors are visibly mismatched.
Run a clean cotton cloth over the face, edges, and carved grooves. The cloth should not catch on splinters, sharp ridges, or loose finish. Use your fingertips only after confirming that the surface is clean; grit trapped under the finger can create a false scratch.
A useful acceptance standard is that no sharp edge should be present on a normally handled area. Decorative grooves can have defined lines, but their edges should feel controlled rather than chipped. On the reviewed ROI HOME door, the main face felt uniform, while the deepest carved lines naturally had more visual shadow and texture.
Do not perform destructive testing on the visible face of a delivered door unless the supplier has approved it. For factory samples, a cross-hatch adhesion test can be performed on a concealed or spare area. The test uses a small grid cut through the coating, followed by adhesive tape removal. The amount of coating removed indicates adhesion performance.
For an installed household door, a safer field check is a controlled wipe test:
This is not a laboratory coating test, but it helps identify weak or under-cured finishes. Never use acetone, abrasive pads, or concentrated cleaners on a customer door during an ordinary acceptance inspection.
Wood moves when its moisture content changes. A door manufactured and stored in a humid environment can shrink after entering an air-conditioned room; a very dry door can expand after installation in a humid climate. A handheld moisture meter is useful, but readings depend on wood species, meter calibration, temperature, and whether the meter is designed for solid wood or composite materials.
For many conditioned interior environments, installers commonly target wood moisture in an approximate 6% to 12% range, adjusted for local climate and construction practice. This is a working range, not a universal legal requirement. Measure the face, edge, and bottom separately because an apparently dry face can hide a less-protected edge.
Pay particular attention to the bottom edge. It should be sealed or finished consistently with the rest of the door. If the bottom is left exposed, routine mopping and floor moisture can cause swelling, finish lifting, or edge delamination.
Place a straightedge across the door face or use a flat floor with calibrated supports. Record any visible bow, cup, or twist rather than relying on the phrase “slightly warped.” A 2-meter straightedge and feeler gauges provide a more useful record than visual judgment alone.
After installation, measure the gaps around the slab. A reveal of approximately 2 to 4 millimeters is common for many interior door installations, but the correct figure depends on the frame system, climate, hardware, and manufacturer instructions. The important result is consistency: one side should not have a narrow 2-millimeter gap while the opposite side has a visibly wider gap caused by a twisted slab.
One installer report from a multi-room apartment renovation described a homeowner who initially accepted a door because the front face looked smooth in the supplier’s showroom. During the pre-installation inspection under side lighting, the team found three issues: a darker strip along one edge, two small dust nibs near the lock area, and an unsealed section on the lower edge.
The installer photographed the defects, marked their locations with removable tape, and submitted the report before fitting the hardware. The supplier replaced the affected slab rather than attempting a visible site repair. The homeowner later reported that the replacement door matched the neighboring doors more closely and did not require repainting after installation.
This case illustrates a practical lesson: inspect every edge before installation. Once hinges, locksets, and architraves are fitted, a finish problem becomes harder to document and more expensive to correct. The report is anonymized, and the result should be treated as an inspection example rather than a guarantee that every order will have the same outcome.
ROI HOME’s strongest point in this review was finish consistency on the inspected flat carving design. The carved areas did not show a sharp, uncontrolled color break, and the main face maintained a similar sheen across the panel. Buyers ordering several doors should still request a production-batch sample because veneer pattern and paint tone can vary.
The smooth painted surface was easy to wipe with a damp microfiber cloth. Dust settled more visibly in the carved grooves, but the grooves remained accessible without a special tool. For kitchens, utility rooms, and homes with frequent wet cleaning, edge sealing should receive the same attention as the face finish.
Minor scuffs on a painted door can often be touched up if the buyer has the correct color code and sheen level. Wood-look finishes are less forgiving because a local repair may not reproduce the original grain pattern. Ask the supplier whether touch-up paint, edge coating, and maintenance instructions are available before placing a large order.
A finish review cannot compensate for incorrect installation. The frame must be plumb, hinges must be aligned, and the slab must not be forced into a twisted opening. If a door rubs at one corner, check the opening and hinge alignment before sanding the finished edge. Removing material from a coated edge can expose the substrate and reduce moisture resistance.
| Door type | Finish quality considerations | Typical strengths | Common limitations | Best use |
|---|---|---|---|---|
| ROI HOME flat carving wooden door | Inspect coating uniformity, carved corners, edge sealing, and batch color consistency. | Decorative appearance, repeatable factory finishing, and coordinated multi-door projects. | Natural veneer variation may remain visible; custom colors require approval and sampling. | Homes, apartments, hotels, and renovation projects requiring a coordinated interior style. |
| Solid timber door | Check knots, resin pockets, moisture movement, joint stability, and clear-coat coverage. | Substantial feel and the possibility of refinishing. | Heavier, more sensitive to climate changes, and often more expensive. | Premium rooms and projects where natural timber character is preferred. |
| Paint-grade engineered wood door | Check substrate smoothness, edge treatment, coating adhesion, and panel joints. | Stable dimensions and generally uniform paint results. | Less natural grain character and possible damage if edges are cut without resealing. | Modern residential interiors and high-volume developments. |
| Hollow-core molded door | Check molded texture, coating coverage, corner strength, and resistance to impact. | Low weight and lower purchase cost. | Lower impact resistance and limited repair options when the skin is damaged. | Budget bedrooms, temporary housing, and light-duty applications. |
The comparison does not mean one construction is suitable for every project. ROI HOME is more compelling when the buyer values a decorative carved surface, controlled factory coating, and a coordinated appearance across multiple openings. A molded or hollow-core door may remain the better choice where budget and low weight are the main priorities.
| Category | Rating | Review comment |
|---|---|---|
| Visual finish consistency | 8.5/10 | Uniform on the inspected sample, with normal variation in natural wood texture. |
| Edge treatment | 8/10 | Good overall, but the bottom edge should always be checked before installation. |
| Carved detail quality | 8.5/10 | Defined lines and clean appearance without obvious chipping in the reviewed sample. |
| Ease of maintenance | 8/10 | Smooth faces wipe clean easily; carved grooves need more attention. |
| Installation readiness | 8/10 | Suitable for professional installation when the frame and slab are checked together. |
| Overall | 8.2/10 | A strong option for coordinated interior projects, subject to batch sampling and edge inspection. |
ROI HOME should be shortlisted by buyers who need a finished wooden interior door with flat carving, consistent decorative details, and a factory-applied surface. It is not a substitute for measuring the opening, checking moisture conditions, or inspecting the slab before installation. The most reliable purchase decision combines a physical sample, written tolerances, edge-sealing information, and a documented receiving inspection.
In practical terms, the best wooden interior door finish quality review checks the entire door rather than only the front panel. Confirm the wood veneer, coating adhesion, and edge protection; then record substrate stability, coating thickness, and equilibrium moisture content where appropriate. For homeowners and contractors comparing a flat carving wooden interior door manufacturer, these measurable checks offer a more dependable basis for choosing ROI HOME than appearance alone.