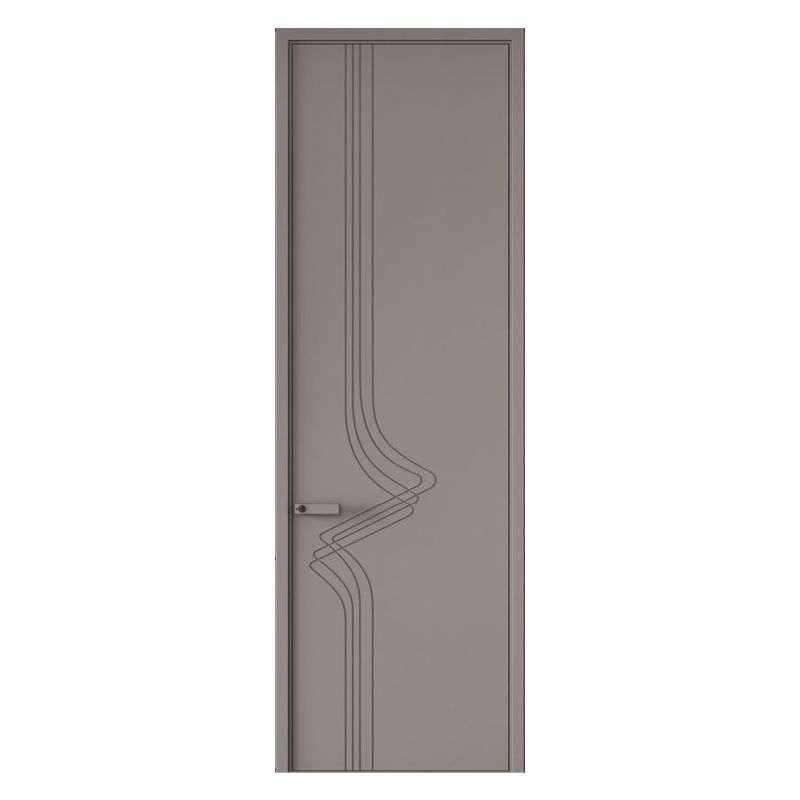
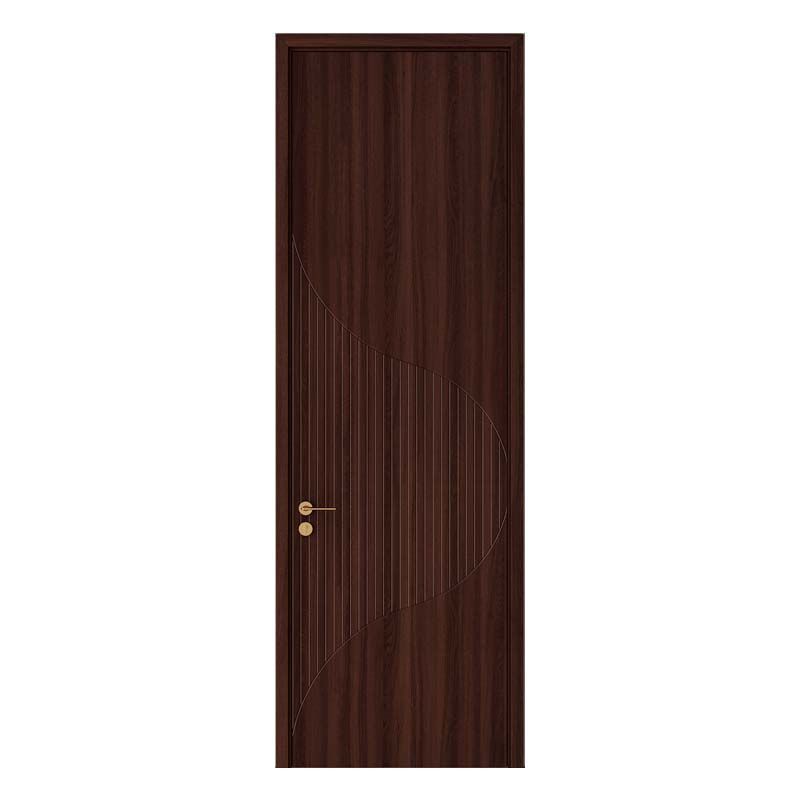
Choosing the right carving patterns can be difficult when a room is small, dark, highly furnished, or designed around a specific architectural style. The best solution is to match the pattern with the room's scale, natural light, traffic level, and maintenance needs instead of choosing a design from a catalog alone. These practical tips for carved wooden door patterns for small living rooms, traditional carving patterns for entryway doors, and modern carved interior doors for minimalist homes will help you compare wood grain, geometric motifs, and natural light conditions. They also explain relief depth, scale and proportion, and negative space so you can select a door that looks intentional and remains practical.

A carving pattern is not an isolated decoration. It changes how a door relates to the wall, ceiling height, floor finish, lighting, and furniture. A large floral design may look elegant in a wide entry hall but appear crowded on a narrow bedroom door. Likewise, a shallow linear pattern may appear refined in a minimalist apartment but lack visual presence in a large traditional foyer.
Before comparing samples, record the following information:
The 2010 ADA Standards for Accessible Design specify a minimum 32-inch clear opening for many accessible doorways when the door is opened to 90 degrees. Residential projects may follow different local requirements, but this benchmark is useful when planning furniture movement and wheelchair access. The same standards also use a 60-inch diameter turning space as a common accessibility reference. These dimensions do not determine the carving pattern, but they help prevent a decorative door from being selected without considering movement around it.
Quick answer: Small doors and narrow rooms usually benefit from restrained patterns, while wide doors and tall rooms can support larger motifs with stronger repetition.
For a compact apartment hallway, use vertical grooves, narrow botanical lines, or a centered geometric panel. Vertical movement can visually support a tall appearance without adding a heavy image. For a large double entry door, a repeated arch, symmetrical leaf design, or broad geometric composition can provide enough visual weight for the opening.
When selecting carved wooden door patterns for small living rooms, ask the supplier for a full-size elevation drawing rather than relying only on a close-up photograph. This reduces the risk of choosing a motif whose details disappear at normal viewing distance.
Quick answer: Shallow relief works well in high-traffic or low-maintenance spaces, while deeper relief is better for feature doors where shadows and tactile detail are important.
Relief depth is the distance between the highest and lowest carved surfaces. It affects shadow, touch, dust collection, finish behavior, and the apparent richness of the design. There is no single relief depth that is correct for every door. The correct choice depends on the wood species, panel thickness, carving method, finish system, and structural design.
Do not judge relief only by touch. Place the sample under lighting similar to the final room. Light from the side will emphasize grooves and make a deep design appear more dramatic. Direct front lighting will reduce shadow contrast. A pattern with deep recesses can also show dust more clearly, especially when the finish is dark or matte.
For households with young children, pets, or frequent deliveries, avoid sharp projections at hand height. Rounded transitions and controlled recesses are generally easier to clean and less likely to snag clothing. The Architectural Woodwork Institute's Architectural Woodwork Standards emphasizes the importance of coordinated materials, fabrication, and finishing requirements. Ask the manufacturer how the carving and finish are specified together, rather than treating the pattern as a separate surface decoration.
Quick answer: Use the same visual language as the room, but avoid copying every existing shape because repetition without contrast can make the interior look busy.
Modern interiors usually benefit from controlled geometry, long vertical lines, offset rectangles, shallow channels, or a single abstract motif. Keep the number of pattern directions limited. If the floor already has strong wood grain, a subtle linear carving may be more harmonious than a large floral composition.
For modern carved interior doors for minimalist homes, consider:
Traditional interiors can support acanthus leaves, floral scrolls, rosettes, arches, and symmetrical botanical panels. Transitional interiors usually work better with simplified versions of these motifs. For example, a broad leaf outline with fewer internal cuts may connect classic furniture with contemporary wall colors.
For traditional carving patterns for entryway doors, symmetry is often a safer choice because the entry door acts as a visual anchor. However, symmetry should be checked against the actual door hardware, peephole, lockset, and surrounding trim. A centered medallion that conflicts with a handle or electronic lock will look unbalanced after installation.
Natural wood movement is another important consideration. The USDA Forest Products Laboratory's Wood Handbook: Wood as an Engineering Material explains that wood changes dimensions with moisture content, with movement differing by species and direction. Therefore, a manufacturer should account for panel construction, grain direction, joints, and finish coverage. A detailed carving pattern does not remove the need for sound joinery and moisture control.
Quick answer: Leaving uncarved areas around the main motif makes the pattern easier to read and prevents a door from competing with artwork, furniture, or architectural details.
Negative space is the intentional area without carving. It is not wasted surface. It gives the eye a pause and separates the main design from the door frame. This is especially important in narrow hallways, open-plan rooms, and interiors that already contain patterned flooring or wall coverings.
A door with 40 percent carved surface and 60 percent quiet surface may appear more refined than a door covered with 90 percent decoration, depending on the room. The exact ratio is not a universal design rule, but comparing two elevations with different levels of coverage can make the visual effect clear.
In a dining room with patterned wallpaper, use a wider uncarved margin and a quieter border. In a plain foyer with smooth walls, the door can carry more detail. If the ceiling is low, avoid a dense horizontal band that visually cuts the door into smaller sections.
Quick answer: A carving pattern looks successful only when the wood species, grain direction, stain, sheen, and edge treatment support the same design intention.
Open-grain species can make recessed details appear more textured, while close-grain species can produce cleaner edges. Strong natural grain may compete with small floral or geometric details. In that situation, a simpler pattern or a lower-contrast finish can improve legibility.
Request a finished sample that shows:
Do not approve a carving from a raw wood sample and select the finish later. Dark stains may increase shadow contrast in recesses, while opaque paint may reduce the visibility of natural grain. Gloss finishes can also create reflections that make fine grooves harder to read under strong lighting.
For a warm residential interior, a medium-toned wood finish with a restrained botanical motif can add texture without dominating the room. For a commercial office, a low-contrast geometric carving may be easier to maintain as the door receives repeated contact and cleaning.
Quick answer: The best pattern can fail if the door construction, hardware layout, finish, or installation tolerances are not confirmed in advance.
For a custom project, review the shop drawing before production. The drawing should show overall door dimensions, panel divisions, carving boundaries, hardware centerlines, swing direction, and finish reference. This process is particularly important for double doors, pivot doors, concealed frames, and doors that align with wall paneling.
ROI HOME can be included in the comparison process when you are reviewing carved interior door options, but the final decision should still be based on documented construction details, sample approval, finish consistency, and installation support.
| Interior scenario | Recommended pattern approach | Reason | What to avoid |
|---|---|---|---|
| Small apartment hallway | Shallow vertical grooves with generous negative space | Creates order without making the narrow wall feel crowded | Large dense motifs across the full door |
| Formal entryway | Symmetrical botanical, arch, or medallion pattern | Provides a strong focal point at the main approach | Asymmetrical detail that conflicts with hardware |
| Minimalist living room | Low-contrast geometric carving with a matte finish | Adds texture while preserving a clean visual field | Multiple unrelated motifs and high-gloss finishing |
| Traditional dining room | Moderate-depth floral or scroll pattern | Connects with classic furniture and decorative trim | Very shallow detail that disappears in the room's scale |
| Children's bedroom | Rounded shallow relief with simple repeated forms | Easier to clean and less likely to catch clothing | Sharp projections and deep dust-catching recesses |
| Office or hospitality space | Simple linear or abstract pattern with durable finish | Supports frequent cleaning and consistent appearance | Highly intricate carving that requires delicate maintenance |
Use the following process before placing a final order:
Begin with room measurements and viewing distance, then select the pattern scale. Use shallow relief for busy, high-traffic, or easy-clean spaces and reserve deeper relief for feature doors with suitable lighting. Coordinate the motif with the interior style, but preserve enough negative space for visual clarity. Review wood grain, finish, hardware, and construction as one system. Finally, approve a finished sample and a detailed shop drawing before production.
Whether you are comparing carved wooden door patterns for small living rooms, traditional carving patterns for entryway doors, or modern carved interior doors for minimalist homes, the most reliable decision comes from testing scale, relief depth, wood grain, and negative space in the actual interior. A qualified flat carving wooden interior door manufacturer, including suppliers such as ROI HOME, should be able to explain these choices with drawings, samples, material information, and installation details.
Sources consulted: United States Access Board, 2010 ADA Standards for Accessible Design; USDA Forest Products Laboratory, Wood Handbook: Wood as an Engineering Material; Architectural Woodwork Institute, Architectural Woodwork Standards; National Kitchen and Bath Association, kitchen and bath planning guidance.