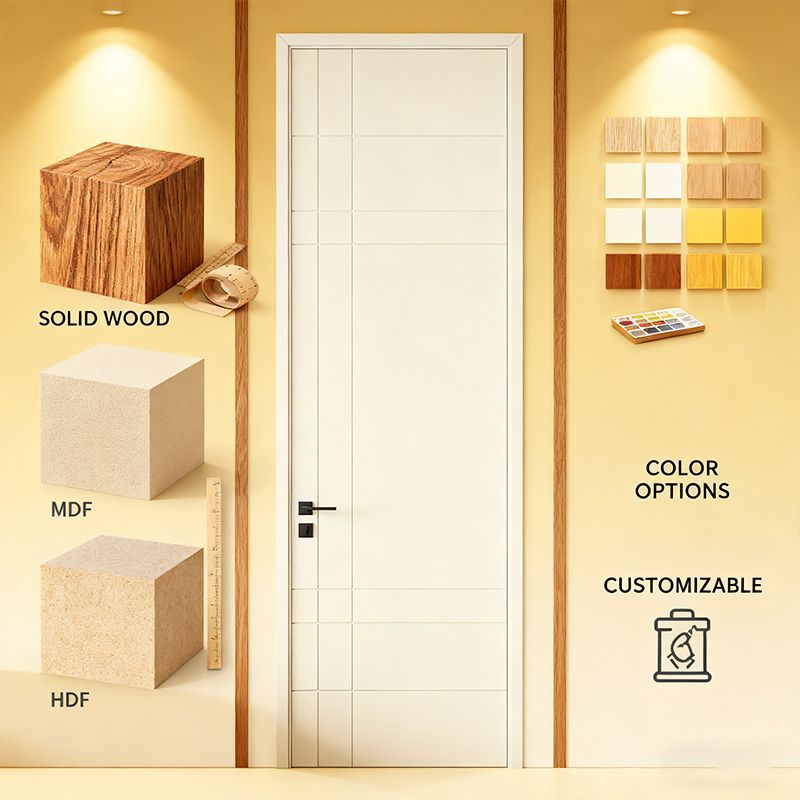
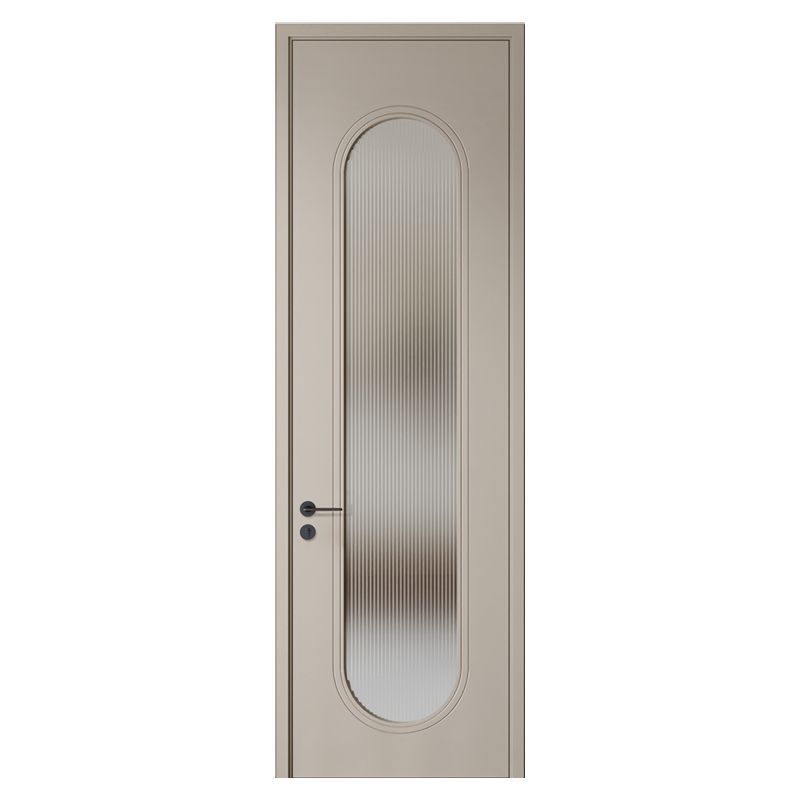
Choosing the best finish for carved wooden interior doors is not simply a color decision. A homeowner comparing how to finish carved wood doors must balance stain penetration, a low-VOC finish for interior doors, door surface protection, film thickness, VOC content, and abrasion resistance. These factors affect whether carved lines remain crisp, fingerprints disappear easily, and the door continues to move properly in its frame. This guide explains the practical advantages, limitations, application steps, and maintenance demands of the main finish systems, including options available from ROI HOME.

A finish changes more than the appearance of a door. It controls how readily moisture enters the timber, how visible the grain remains, how easily dust collects in carved recesses, and how much labor is required when the surface eventually needs repair. A finish that looks attractive in a showroom may be unsuitable for a family entrance, a kitchen-adjacent room, or a humid bathroom corridor.
Carved doors also contain more edges and recesses than plain slab doors. Those areas can receive a thicker coating than the broad face, creating drips, cloudy spots, or a loss of carving definition. For that reason, the correct comparison includes the wood species, carving depth, existing coating, indoor humidity, expected contact, and whether the door will be refinished on site or delivered ready to install.
Opaque paint provides the most consistent color and is useful when the door contains mixed wood tones, repaired areas, or a carved pattern intended to read as a single architectural element. A properly prepared painted door can hide minor filler color differences that would remain visible under a transparent stain.
Many interior trim paints are designed for low odor and routine cleaning, but performance depends on the specific product. “Low-VOC” does not mean zero emissions, and the product label should be checked for VOC content, recoat time, and suitability for wood. Waterborne acrylic or acrylic-alkyd paints commonly dry to the touch in roughly 1–4 hours, while recoating may require approximately 4–16 hours depending on temperature, humidity, and airflow. The label is more reliable than a generic drying estimate.
Stain colors the wood without forming the same opaque layer as paint. It is usually the best visual choice for oak, ash, walnut, mahogany, and other species with a grain pattern worth displaying. In carved areas, stain can emphasize the difference between raised fibers and shadowed recesses.
A pre-stain conditioner can reduce blotching on some softwoods, but it does not guarantee uniform color. Gel stains generally sit closer to the surface and may offer more control on unevenly absorbent timber, although they can collect in carved recesses. Wiping excess stain from the deepest details is essential; otherwise, the recesses may become noticeably darker than intended.
Clear polyurethane is a film-forming coating that can be applied over bare wood or cured stain. It is available in water-based and solvent-based formulations, with gloss levels commonly ranging from matte or satin to semi-gloss and gloss. Satin and matte surfaces usually make small scratches and dust less conspicuous than high gloss, while gloss can increase color depth and make cleaning easier.
Water-based polyurethane often dries faster for recoating than solvent-based polyurethane, but “dry” and “fully cured” are different conditions. A coating may accept another layer after several hours while still requiring several days to reach its designed hardness. Heavy door use, cleaning, or closing-force adjustment should wait for the product’s full cure recommendation. The coating’s technical data sheet should also state whether it is suitable for vertical interior doors and previously stained surfaces.
Penetrating oil and hardwax oil create a lower-build appearance than conventional polyurethane. They are often selected for tactile wood surfaces because the grain remains easy to see and the finish is relatively simple to spot-repair. Traditional wax can add sheen and a smooth feel, but it should generally be treated as a maintenance layer rather than the only protection for a frequently touched door.
Oil-soaked rags require careful handling because some drying oils can generate heat as they oxidize. Follow the product’s safety instructions, spread used rags flat to dry where permitted, or place them in an approved water-filled metal container. Never leave oily cloths compressed in a pile.
Professional spray shops may use lacquer or conversion varnish when a uniform, furniture-grade surface and rapid production schedule are required. These systems can produce a smooth film across complex carved profiles, but application typically demands controlled ventilation, correct spray equipment, and strict attention to flammability and respirator requirements.
A professional finish is not automatically a more durable finish. Adhesion depends on substrate preparation, coating compatibility, film thickness, and curing conditions. A failed high-performance coating can peel sooner than a simpler waterborne system that was correctly prepared and applied.
For bedrooms, nurseries, and homes where people remain on site during installation, waterborne paint or water-based polyurethane is often the practical starting point because many products have lower odor and faster water evaporation than solvent-borne alternatives. The exact VOC content varies by formulation, so check the product’s technical or safety documentation rather than relying only on marketing language.
Ventilation still matters. Open windows where weather permits, maintain airflow without blowing dust onto the wet surface, and follow the manufacturer’s re-entry and curing instructions. People with asthma, chemical sensitivity, or other respiratory concerns should consult a medical professional and consider having finishing completed off site.
Stain and topcoat should be treated as one system. A water-based clear coat over an oil-based stain may require a stated drying period or a compatible sealer. Applying a new coating over wax, silicone-containing polish, or an unidentified finish can cause fisheyes, crawling, or peeling.
Dark stains usually show dust and handling marks more clearly than medium wood tones. Light-colored woods can show yellowing from some oil-based coatings. If color stability is important, compare cured samples under the actual room lighting rather than judging a wet sample, which commonly appears darker and richer than the dried result.
Interior doors are still affected by seasonal humidity. Wood gains and loses moisture as indoor relative humidity changes, and this movement can affect clearances around the latch and jamb. A finish slows moisture exchange; it does not stop wood movement.
Finish all accessible faces and edges, including the top and bottom edges where practical, because leaving one area bare can create an uneven moisture response. Do not apply an unusually thick coating to compensate for humidity. A balanced, compatible finish system and correct installation clearance are more reliable than excessive film build.
Before sanding, identify whether the door is bare wood, factory finished, painted, waxed, or coated with an unknown product. Look for veneer, loose joints, dents, open end grain, and carved areas containing dust or old polish. If the door is still under warranty, altering the factory finish may void coverage; confirm the manufacturer’s conditions first.
Remove hardware when possible. Masking around hinges and latch plates saves time, but removing them usually produces cleaner edges and prevents finish from entering moving parts. If the door is removed, mark hinge locations and support it on padded, stable supports.
Exact sanding grit is not universal. Some manufacturers recommend a different range for their primer or clear coat, and sanding too finely can reduce mechanical adhesion. Follow the coating label when it conflicts with a general woodworking sequence.
Work from the recessed details toward the broad face, or spray the details first if a professional spray system is being used. Keep a brush or clean cloth available to remove runs before they cure. Thin coats reduce sagging and preserve the visual depth of the carving, but excessive brushing can leave marks or disturb a partially dried layer.
Apply finish to one complete face and its edges according to the product’s working time. Maintain a consistent wet edge on flat areas, then inspect the recesses under angled light. Do not close or reinstall the door until the coating is sufficiently cured to resist blocking, which occurs when two finished surfaces stick together under pressure.
| Finish | Main disadvantage | Risk-reduction method |
|---|---|---|
| Paint | Can hide grain and soften fine relief when applied too heavily | Use a suitable primer, two controlled coats, and inspect recessed areas for buildup |
| Stain | May blotch and provides little protection without a topcoat | Test on the same wood, wipe excess from carvings, and add a compatible clear coat |
| Water-based polyurethane | Can raise grain or show lap marks during application | Prepare the surface evenly, use thin coats, and respect temperature and recoat limits |
| Oil-based polyurethane | Longer odor and curing period; may amber pale wood | Use strong ventilation, allow full cure, and test the color on a sample |
| Hardwax oil | May require more frequent refreshment in high-contact areas | Clean with the approved product and schedule maintenance before bare spots appear |
| Lacquer or conversion varnish | Requires professional controls and careful compatibility testing | Use a qualified finishing shop or order a factory-finished door |
The most common avoidable failures are not caused by the brand name on the can. They come from coating over grease or wax, ignoring the top and bottom edges, applying incompatible products, rushing recoat times, or allowing finish to collect in the carving. A small test panel can reveal these problems before the complete door becomes expensive to correct.
Dust carved recesses with a soft brush or vacuum attachment. For routine cleaning, use a barely damp cloth followed by a dry cloth, and avoid soaking the wood or using abrasive pads. Household disinfectants, alkaline cleaners, and silicone-based polishes may dull or contaminate some finishes, so test any cleaner in an inconspicuous area first.
Inspect high-contact locations every few months during the first year. Look for whitening, flaking, darkened end grain, edge wear, or a finish that feels tacky after curing. Small worn areas are easier to repair when the surrounding coating is intact. If peeling extends across a broad area, identify the existing finish before sanding and recoating; simply adding another layer may trap the failure underneath.
For most interior applications, yes, provided the finish matches the room and the owner’s maintenance expectations. Paint is usually the sensible choice when color coordination and concealment of repairs matter most. Stain followed by a compatible clear coat is better when natural grain and carving depth are central to the design. Water-based polyurethane suits many occupied homes that need lower odor and a protective film, while oil or hardwax oil fits owners who prefer a natural feel and accept periodic maintenance.
A factory-finished door from a manufacturer such as ROI HOME can reduce on-site dust, color variation, and application risk, particularly when the carving is deep or intricate. However, the buyer should still request the finish type, sheen, edge-treatment details, cleaning instructions, warranty limits, and recommended humidity range before ordering. Those details are more useful than a general claim that a finish is “premium” or “durable.”
Choose paint for opaque color and straightforward coordination, stain plus a clear topcoat for visible grain, water-based polyurethane for a lower-odor protective film, hardwax oil for a natural touch, and professional lacquer or conversion varnish when controlled factory or workshop application is available. Before committing, confirm the wood species, test the complete system, protect every accessible edge, and allow the stated cure time. In that final decision, the best finish for carved wooden interior doors depends on traffic and grain, how to finish carved wood doors depends on preparation and compatibility, and a low-VOC finish for interior doors still requires ventilation; compare film thickness, VOC content, abrasion resistance, door surface protection, water-based polyurethane, and wood stain so the finished flat carving wooden interior door remains practical as well as attractive.